
这段时间在学习构建工具Gradle,因为Gradle的构建脚本要使用到groovy语言编写,因此就顺便学习了一下groovy。一开始听说gradle脚本其实就是groovy语言的脚本,我是十分震惊的,因为再怎么看都感觉build.gradle都只是像一个配置文件,根本想不到是一段代码。学习了gradle里面的各种特殊的省略写法和闭包的概念之后,才恍然大悟,原来.gradle脚本就是各种省略完了的groovy脚本。
定义成DSL的好处时,让就算没学过Groovy语法的非专业用户也能非常方便直观地,使用接近自然语言的魔法语法来编写代码组织功能。因为听起来真的很cool,我就也尝试自己写了一套用于绘制简单的线段图形的DSL。这个想法来源于《程序员修炼之道》这本书,书中在介绍领域语言的时候引入了一个类似的练习。
目标
使用Groovy定义一套DSL,让下面的脚本可以绘制出直线并展示出来。
pad(500, 500) {
    color "black"
    line {
        start(100, 200) end(300, 300)
        start(100, 30) end(0, 0)
    }
    color "red"
    line {
        start(100, 200) end(100, 300)
        start(500, 500) end(60, 20)
    }
}

pad {
    size {
        length = 1000
        width = 1000
    }
    color "red"
    line {
        start(100, 200) end(300, 300)
    }
}
进行一下简单说明:
- pad表示一个新建一个画板,花括号中表示这个画板上的内容
- 画板的大小既可以在建立的时候通过圆括号指定,也可以在内容中用size来指定
- color表示更换颜色,表示之后的绘图将使用新的颜色。默认黑色
- start end表示一条线段开始和结束的坐标,放在line后的块可以定义line
Step0 打桩
直接运行脚本必定报错,首先想办法让脚本不报错。这里打桩的方法是建立一个脚本,用来写自己的DSL实现,然后在现在的类中通过静态引入的方式,将dsl脚本引入。
// SimpleTest.groovy
import static top.claws.PaintingDsl.*

pad(500, 500) {
    color "black"
    //......
}
然后在PaintingDsl中,先定义静态的pad函数。
class PaintingDsl {
    static def pad(def length, def width, Closure closure) {
        // TODO
    }

    static def pad(Closure closure) {
        // TODO
    }
}
这里牵扯到Groovy中的省略:
- 如果一个函数最后一个参数是闭包,这个闭包在调用的时候可以写在外面。
- 如果一个函数调用有且只有一个参数,则函数调用的括号可以省略。
这样,pad {...}和pad(500, 500) {...} 类似的写法就都不会报错了。
Step1 绘制第一条直线
先不管pad中的内容是怎么样的,想办法可以用java的库来绘制展示第一条直线试试。
package top.claws

import javax.swing.JFrame
import javax.swing.JPanel
import java.awt.Color
import java.awt.Graphics

class PaintingDsl {
    def length
    def width

    PaintingDsl(length, width) {
        this.length = length
        this.width = width
    }

    static def pad(def length, def width, Closure closure) {
        def dsl = new PaintingDsl(length, width)
        dsl.show()
    }

    static def pad(Closure closure) {
        pad(500, 500, closure)
    }

    def show() {
        def panel = new JPanel() {
            @Override
            protected void paintComponent(Graphics g) {
                super.paintComponent(g)
                g.setColor(Color.RED)
                g.drawLine(0, 0, 100, 100)
            }
        }

        def frame = new JFrame()
        frame.contentPane = panel
        frame.setSize(length, width)
        frame.setLocationRelativeTo(null)
        frame.defaultCloseOperation = JFrame.EXIT_ON_CLOSE
        frame.visible = true
    }
}
将DSL定义更改成上面这样,就可以绘制第一条红色线段了。
Step2 设定size
给pad设置size应该实现两种方式,第一种就是新建的时候传入大小参数,第二种是在pad的内容中设定。第一种在刚才的部分已经实现了,着重来看第二个:
pad {
    size {
        length = 500
        width = 500
    }
}
一旦出现大括号,就要当做闭包类型的参数,传递给前面的函数。于是这里应该有一个名为size的函数,接收一个闭包参数。之后有一种做法是,使用一个字典成员变量,将闭包中的变量复制全部记录到字典中。
同时要在pad函数中,将closure的delegate指向刚实例化的PaintingDsl对象,让size能够调用到PaintingDsl的成员函数。
package top.claws

import javax.swing.JFrame
import javax.swing.JPanel
import java.awt.Color
import java.awt.Graphics

class PaintingDsl {
    def sizeMap = [:]

    PaintingDsl(length, width) {
        sizeMap.length = length
        sizeMap.width = width
    }

    static def pad(def length, def width, Closure closure) {
        def dsl = new PaintingDsl(length, width)
        closure.delegate = dsl
        closure.resolveStrategy = Closure.DELEGATE_ONLY
        dsl.show()
    }

    static def pad(Closure closure) {
        pad(500, 500, closure)
    }

    def size(Closure closure) {
        // 等同于设置delegate到sizeMap并执行闭包
        sizeMap.with closure
    }

    def show() {
        def panel = new JPanel() {
            @Override
            protected void paintComponent(Graphics g) {
                super.paintComponent(g)
                g.setColor(Color.RED)
                g.drawLine(0, 0, 100, 100)
            }
        }

        // ...
    }

    // 下面这两个方法用来占位 避免报错
    def line(Closure closure) {
        // TODO
    }

    def color(def color) {
        // TODO
    }
}
运行之前的测试脚本,发现其中一个窗口确实变大了。
Step3 添加线条
可以使用一个容器记录所有要添加的线条,然后在pad内容结束后,绘图时,统一添加到panel中。
对于line块的处理,也要使用闭包,而line块中的内容将被作为新闭包的delegate的方法被实现出来。因此这里需要增加一个新的闭包以及新的LineDsl类。同时添加一个Line类方便线段管理。
为了简洁,下面只记录增加的部分。
class PaintingDsl {
    def lineList = []

    def line(Closure closure) {
        def dsl = new LineDsl(this)
        closure.delegate = dsl
        closure.resolveStrategy = Closure.DELEGATE_ONLY
        closure()
    }

    // 更改一下绘图逻辑,绘制列表中的所有线段
    def show() {
        def panel = new JPanel() {
            @Override
            protected void paintComponent(Graphics g) {
                super.paintComponent(g)
                g.setColor(Color.RED)
                for (def line in lineList) {
                    g.drawLine(line.xFrom, line.yFrom, line.xTo, line.yTo)
                }
            }
        }
        // ...
    }
}

class LineDsl {
    def paintingDsl
    def lineBuilding

    LineDsl(def paintingDsl) {
        this.paintingDsl = paintingDsl
    }

    def start(x, y) {
        lineBuilding = new Line()
        lineBuilding.xFrom = x
        lineBuilding.yFrom = y
        this
    }

    def end(x, y) {
        lineBuilding.xTo = x
        lineBuilding.yTo = y
        paintingDsl.lineList.add(lineBuilding)
        lineBuilding = null
    }
}

class Line {
    def xFrom
    def yFrom
    def xTo
    def yTo
    def color
}
Step4 处理颜色
只需要有一个成员变量记录当前在用的颜色就可以了。由于传进来的是一个字符串,可以使用一个static的字典记录颜色名称和对应颜色对象的映射关系。
之后再稍微修改LineDsl中end的逻辑,在线段结束的时候标上颜色。然后更改一下绘图的逻辑,遍历线段时对颜色进行重新设置即可。
class PaintingDsl {
    def curColor = colorMap.black

    static colorMap = [
            red  : new Color(255, 175, 175),
            black: new Color(0, 0, 0),
            white: new Color(255, 255, 255)
    ]

    def color(String color) {
        curColor = colorMap[color]
    }

    def show() {
        def panel = new JPanel() {
            @Override
            protected void paintComponent(Graphics g) {
                super.paintComponent(g)
                for (def line in lineList) {
                    g.setColor(line.color)
                    g.drawLine(line.xFrom, line.yFrom, line.xTo, line.yTo)
                }
            }
        }
        // ...
    }
}

class LineDsl {
    def end(x, y) {
        lineBuilding.xTo = x
        lineBuilding.yTo = y
        lineBuilding.color = paintingDsl.curColor // 给线段记录颜色
        paintingDsl.lineList.add(lineBuilding)
        lineBuilding = null
    }
}
成果展示
完成了所有代码的编写之后,之前的脚本中的需求就全部达成了,效果如下图: 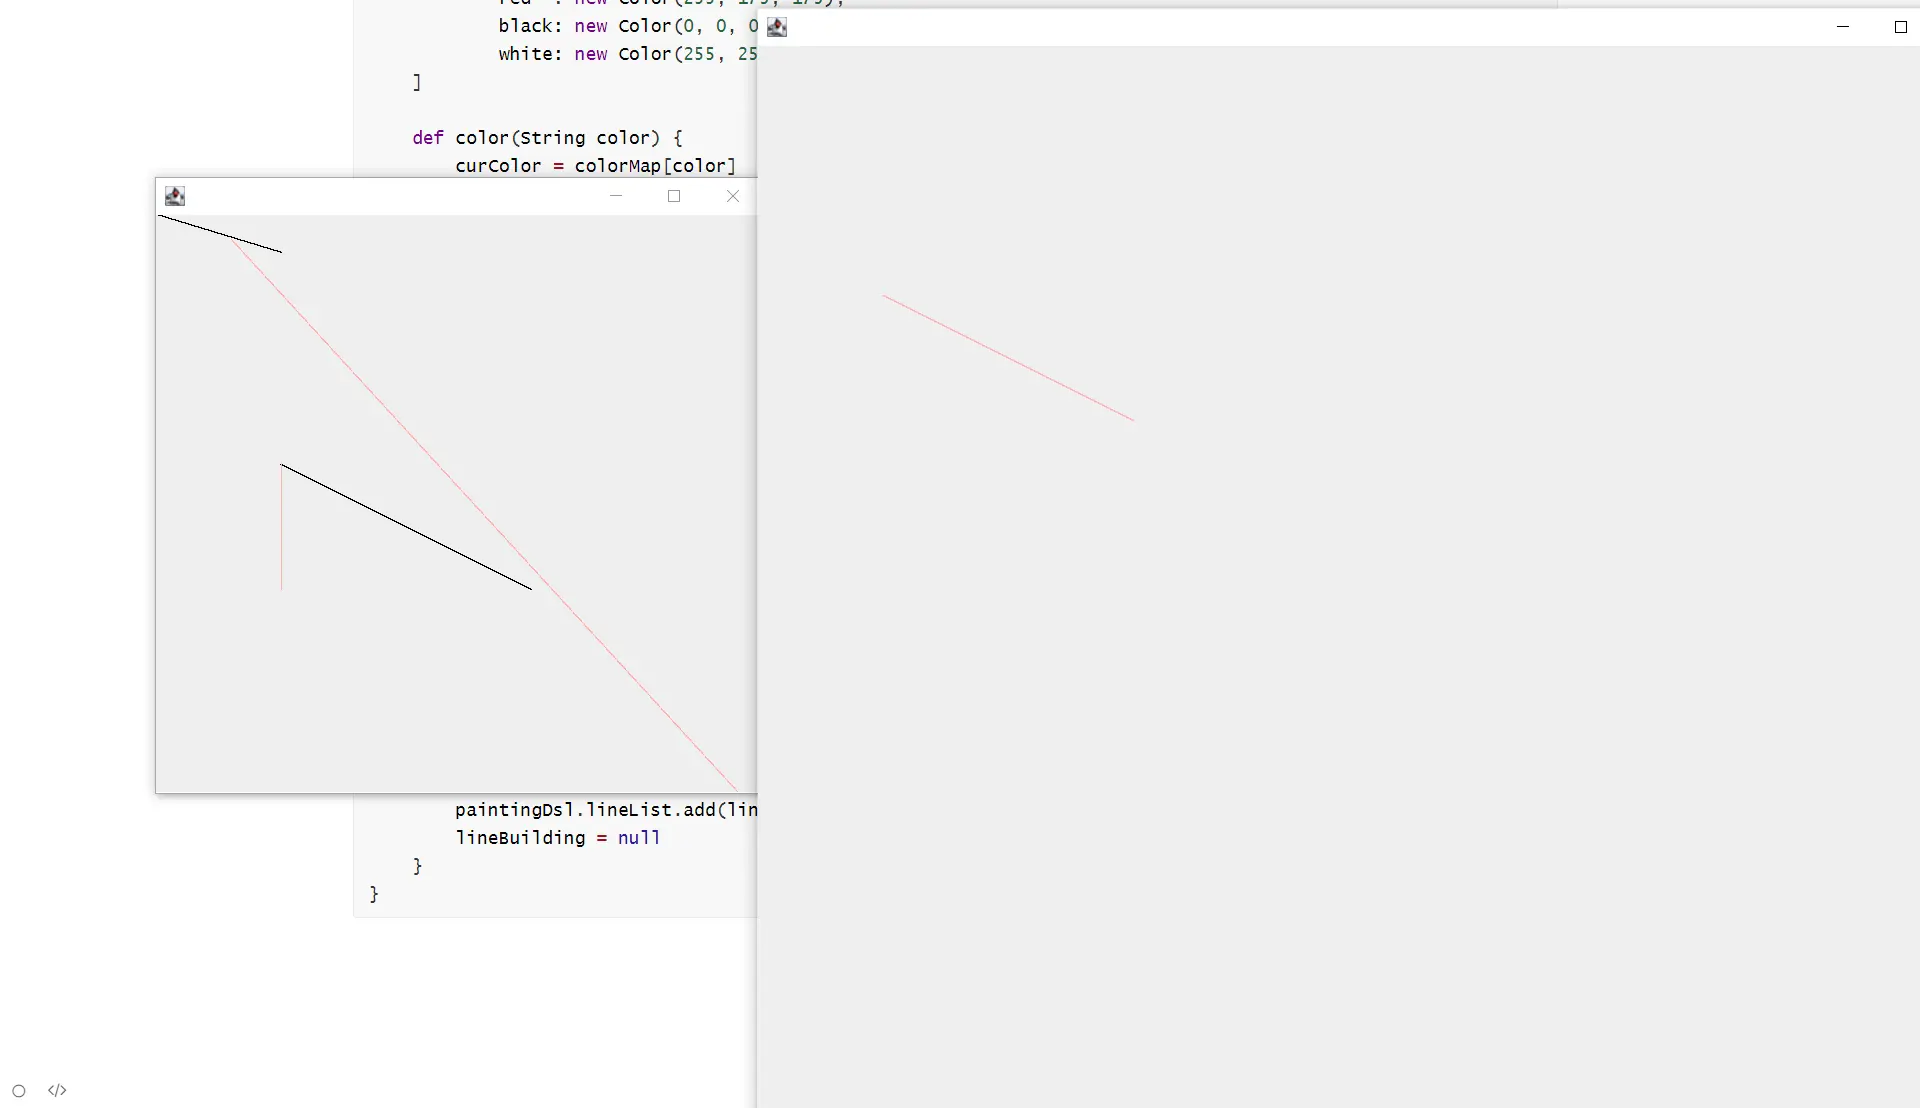
这个小实践中涉及的代码:https://gist.github.com/jingjiecb/e3c049ea6e463d9f06a45e879ea0878a